Making a Stand
When I was informed that school would be remote for my final year, I made the decision to stay in Calgary with my family. This meant I could be in the mountains, with my family and most importantly, around my puppy. This also meant that I needed to update my work from home setup which meant a second monitor. While having the additional screen was quite nice, having my computer sitting on my desk annoyed me, and the commercially available stand options looked ugly, so I made my own.
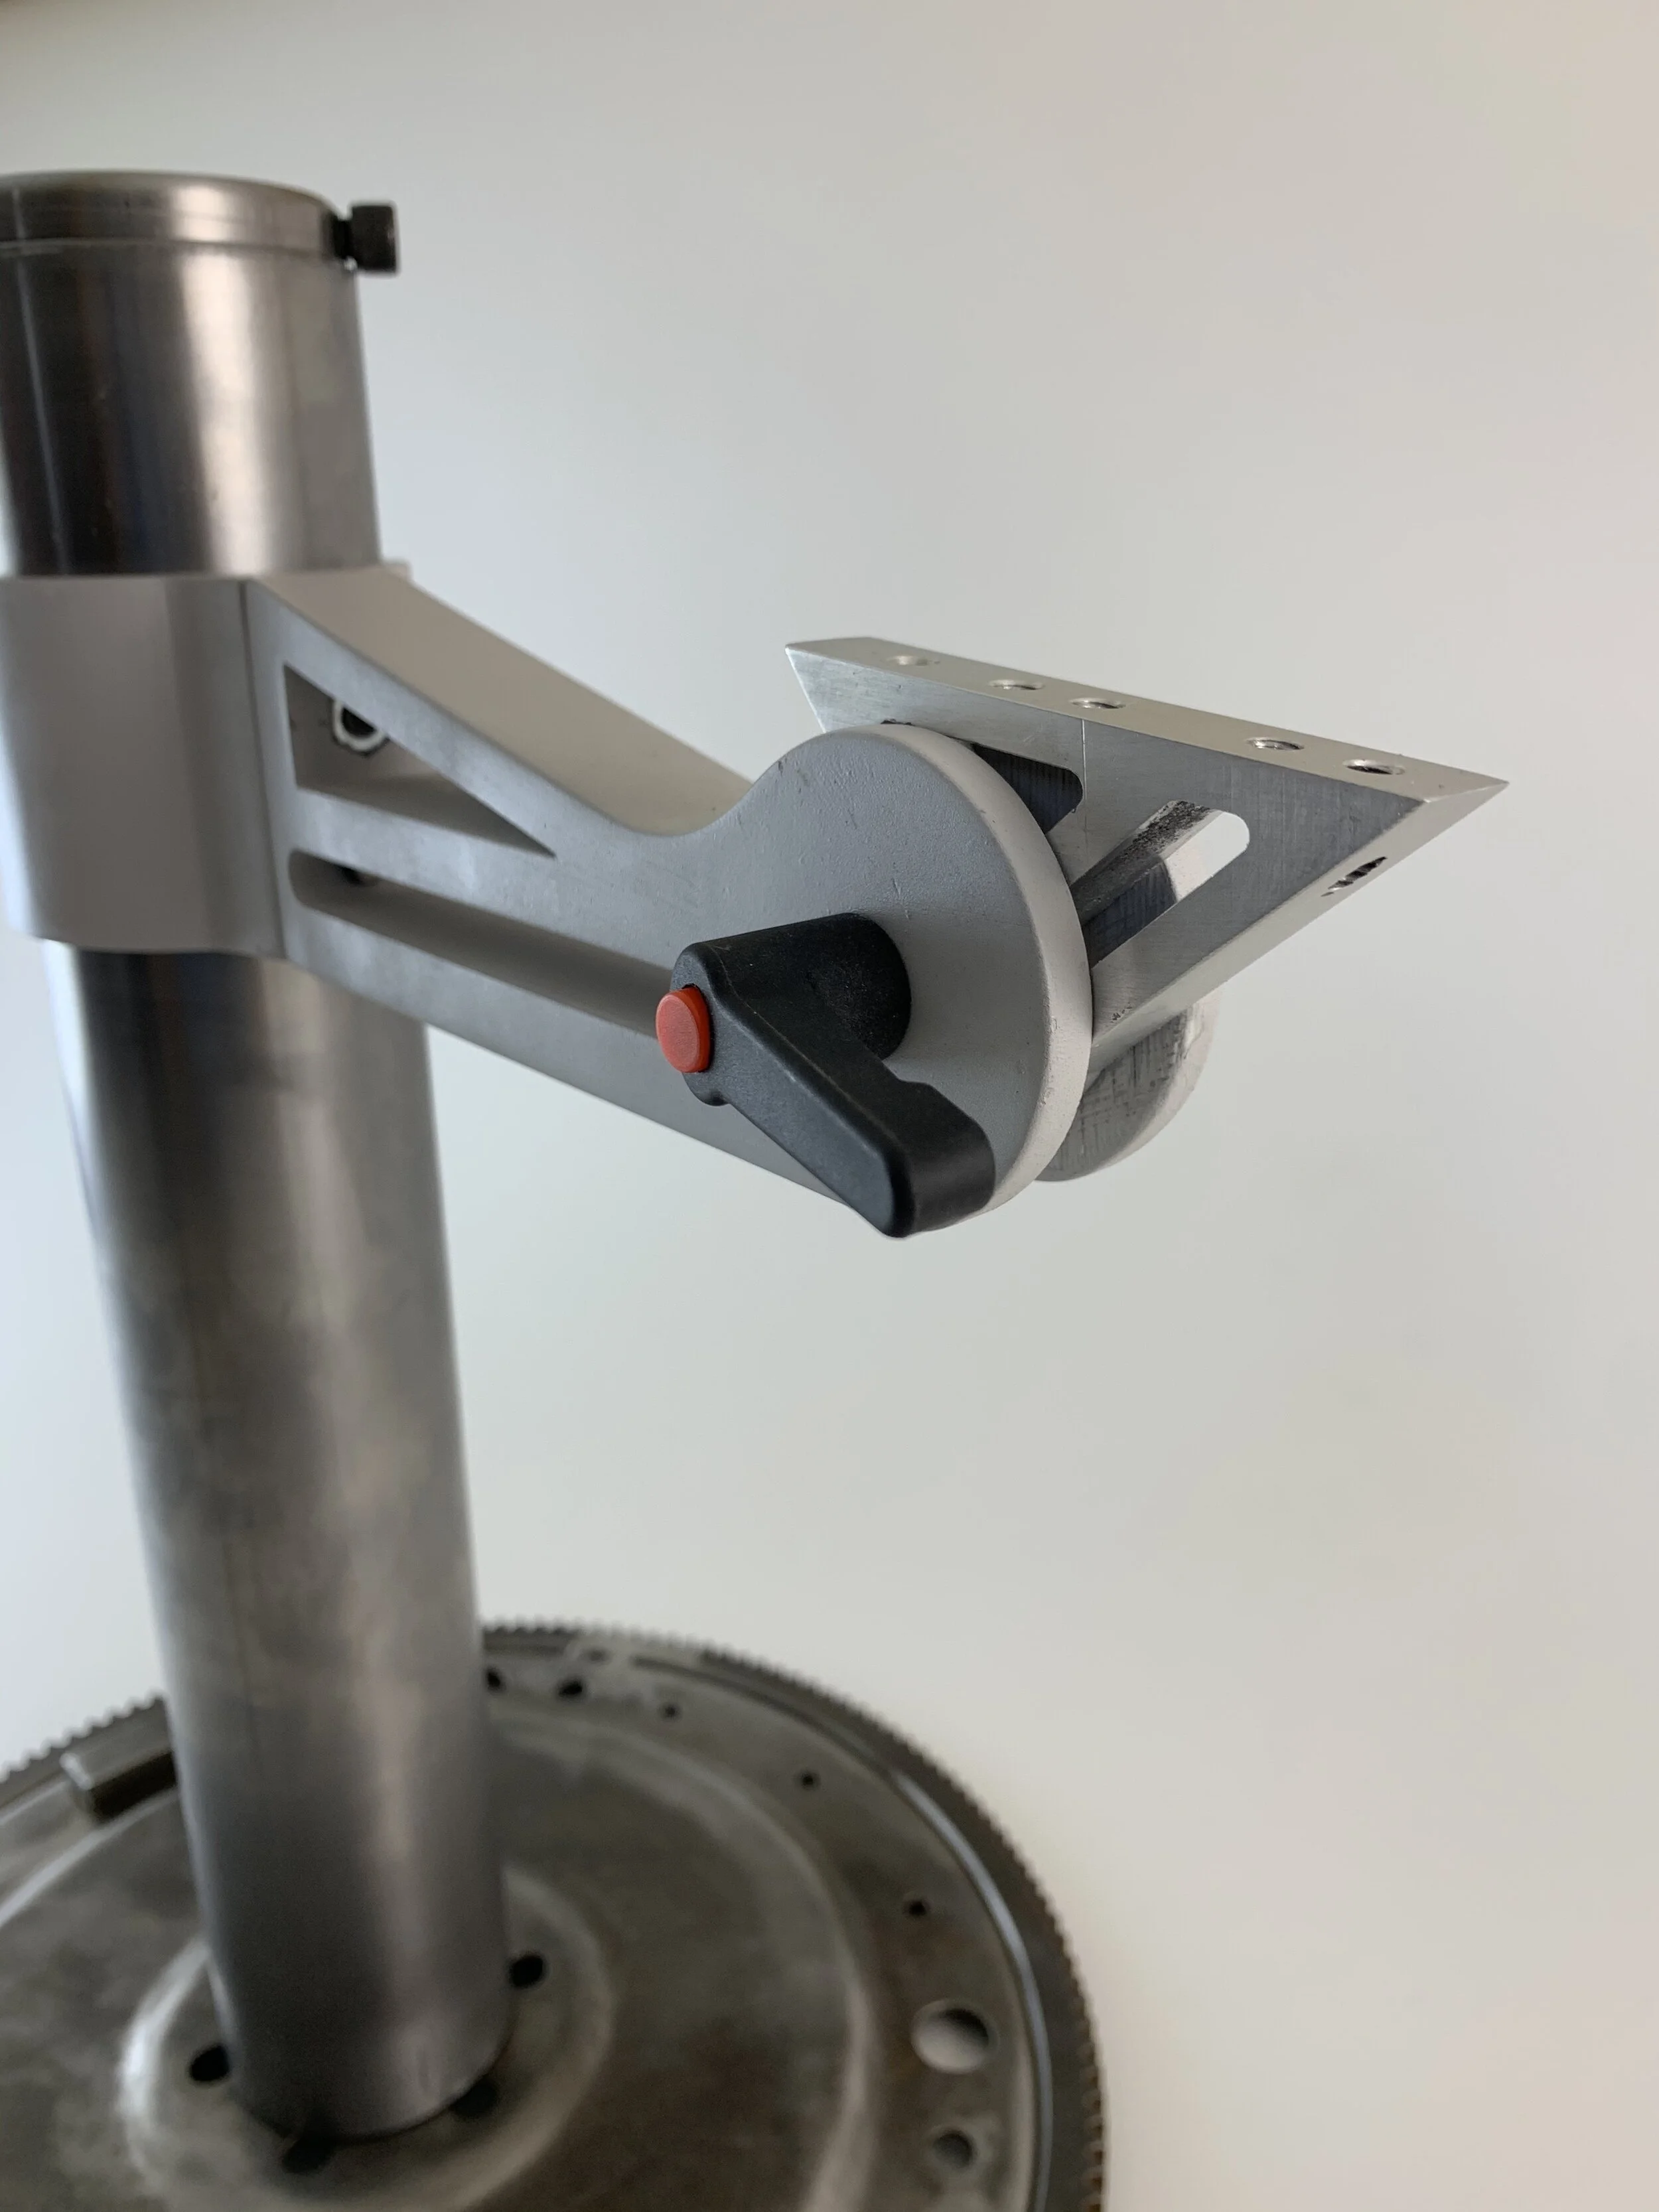
A final shot of the stand, overall I called this project my “summer thesis” as it incorporated a lot of techniques and skills I had learned over the summer; including CNC operation, manual lathe work and TIG welding.
The tubing clamp and main arm of the stand were both 3D printed in ABS. I had to print them separately due to size constraints on my printer.
The extension arm has lever lock that allows the user to lock the table in at their desired angle.
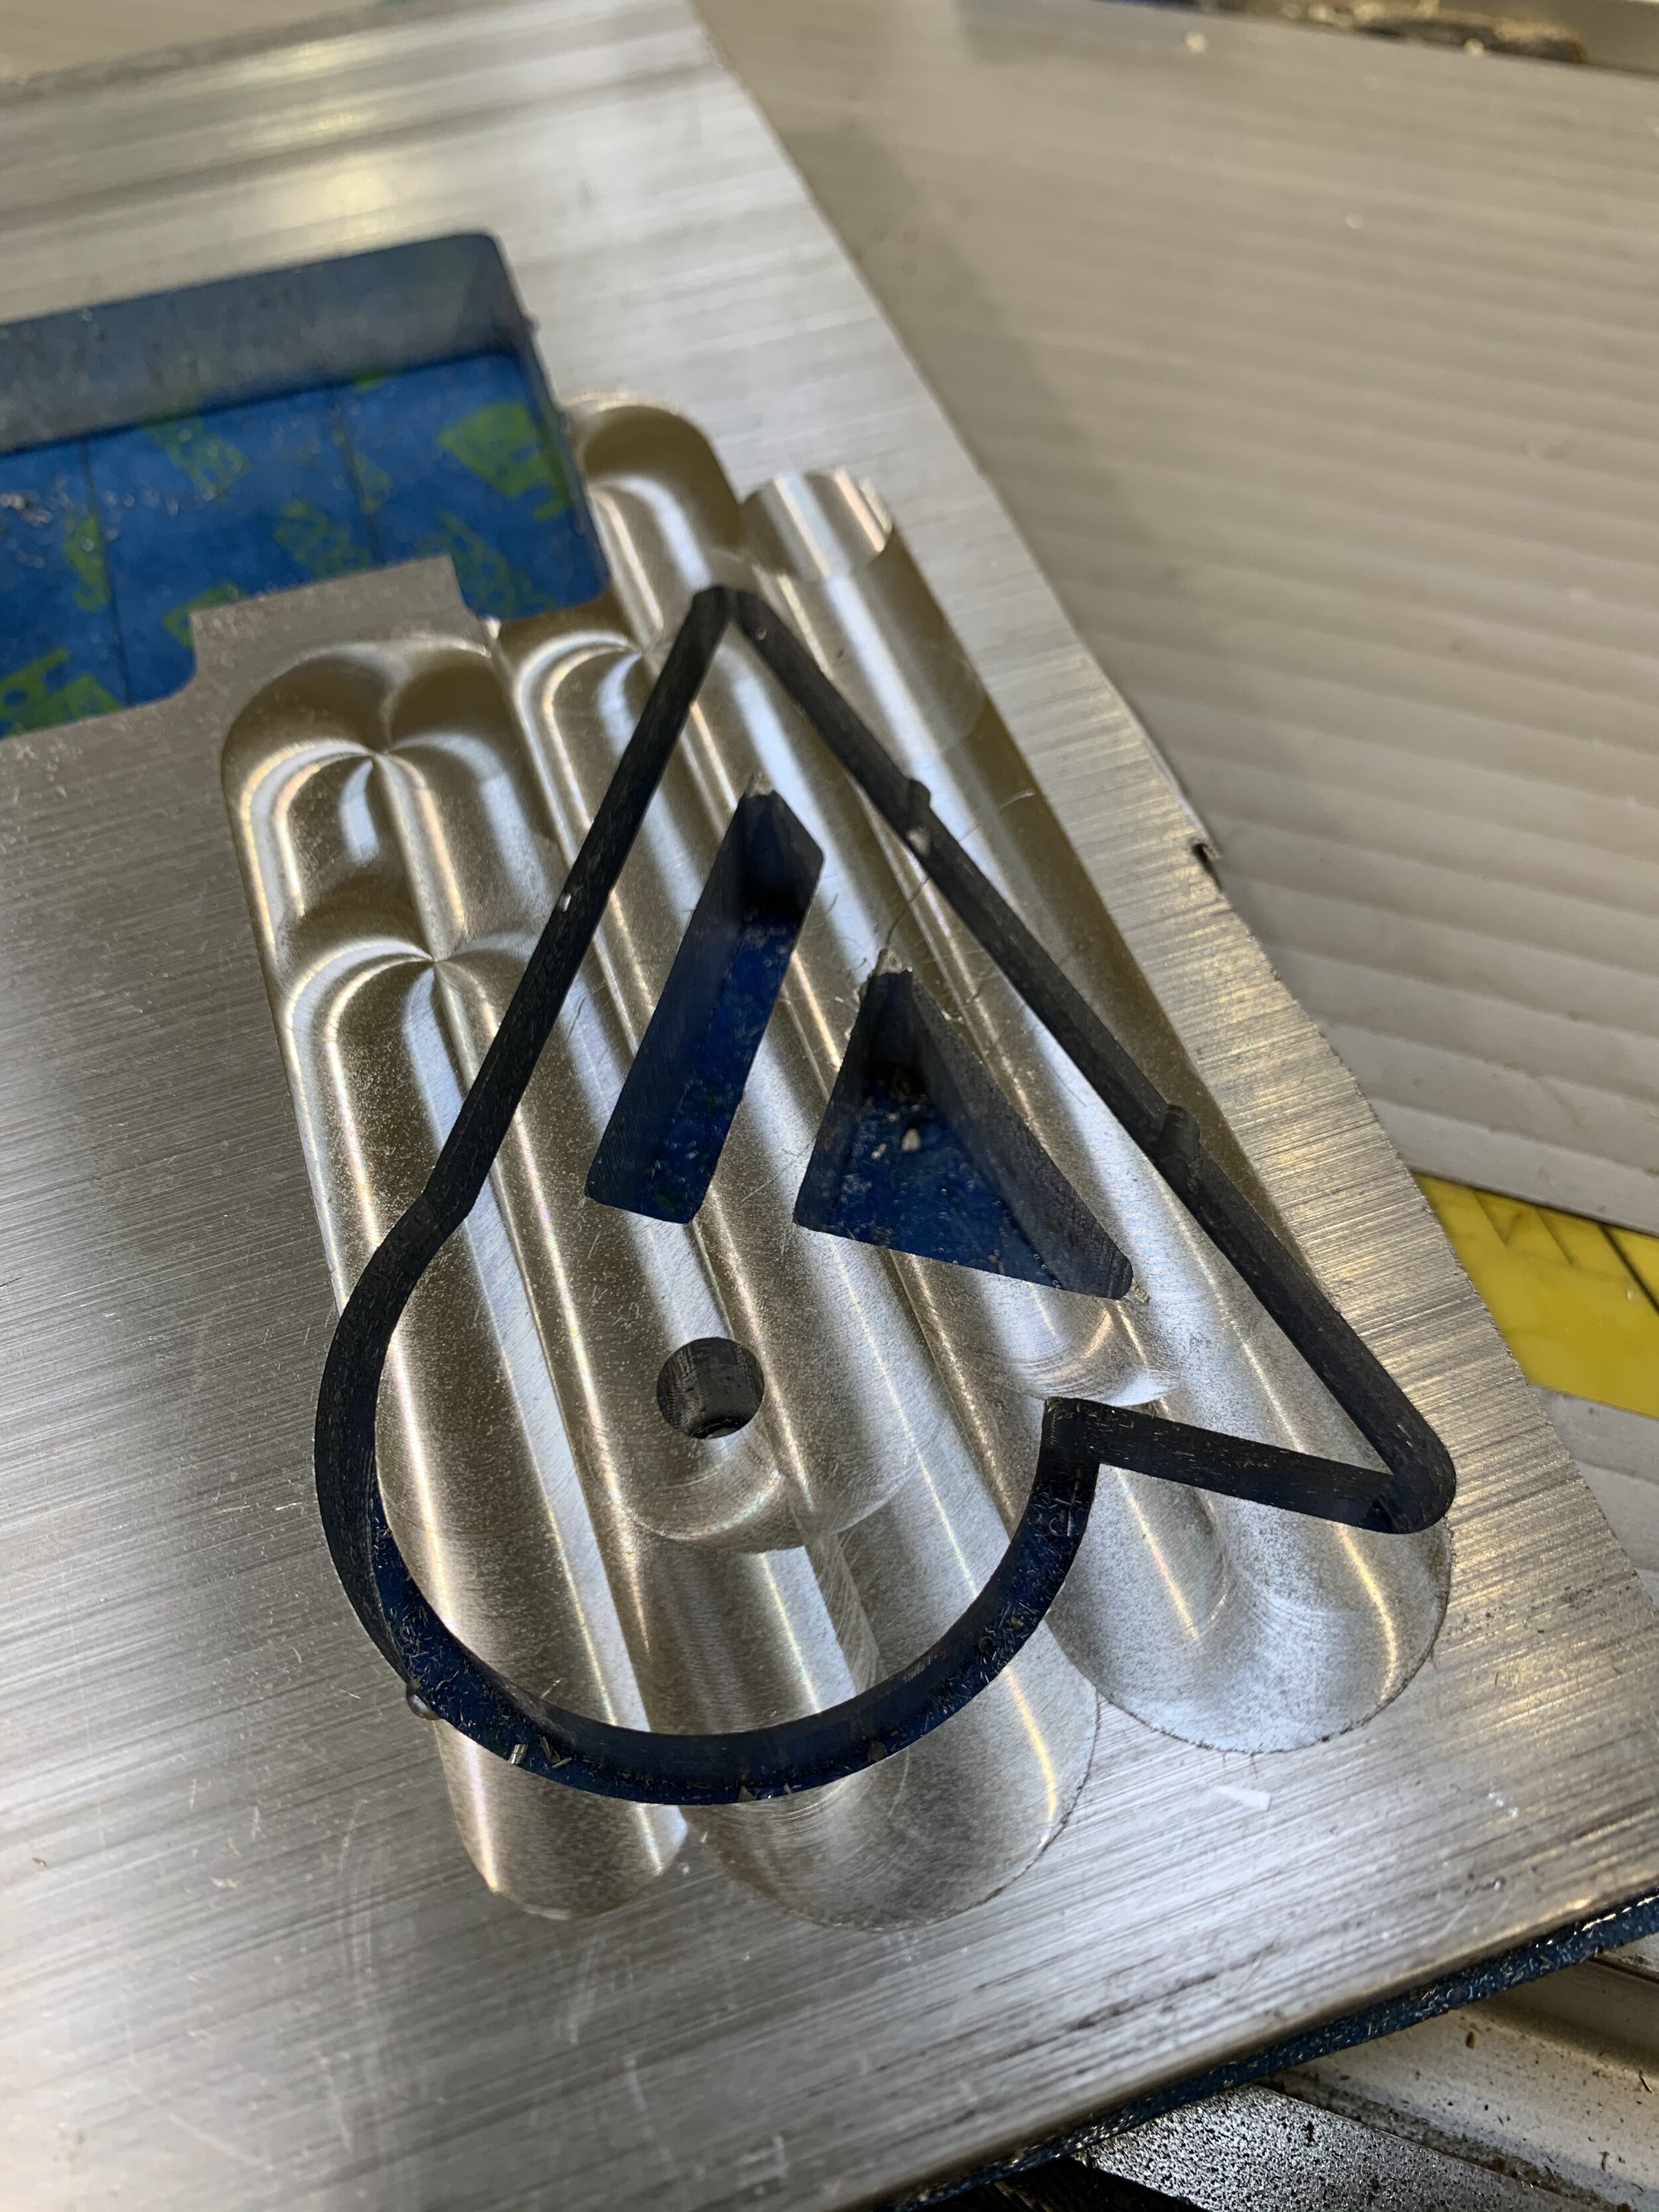
This was my first time using the CNC to cut aluminum, I was very happy with this for a first attempt.
I wanted to add a way to tighten down the stand so it would not rotate, and while sketching I was looking at a bike and noticed the seat post clamp, I ended up looking at how bicycle frame builders do it and followed that process on a bigger scale.


